Most compact LED reviews happen on a desk. Mine did not. I used both the Godox ML40Bi and ML40R on a live YouTube production shoot and I am going to tell you exactly what worked, what needed problem-solving, and which of the two lights most filmmakers should actually buy.
What These Lights Are
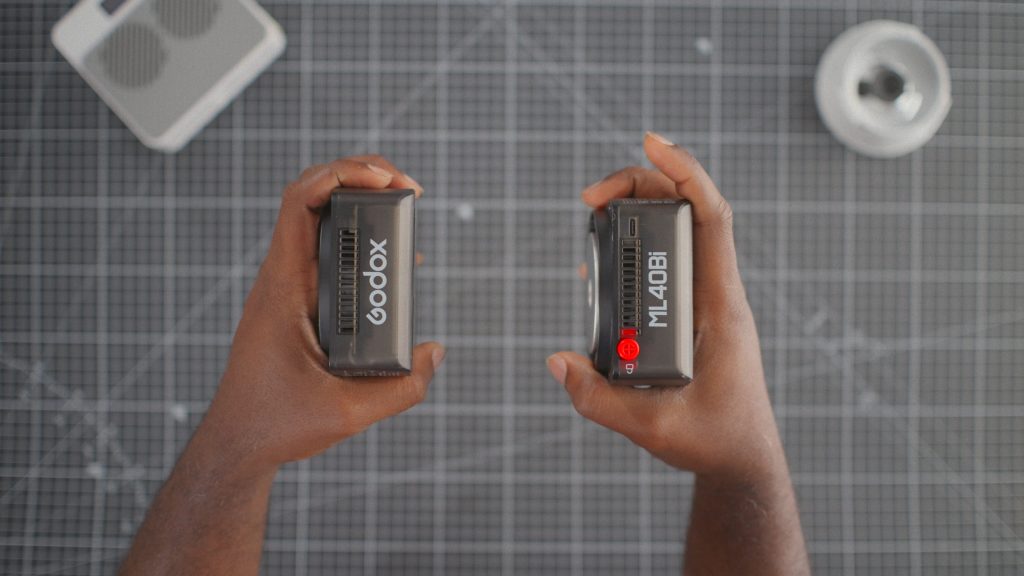
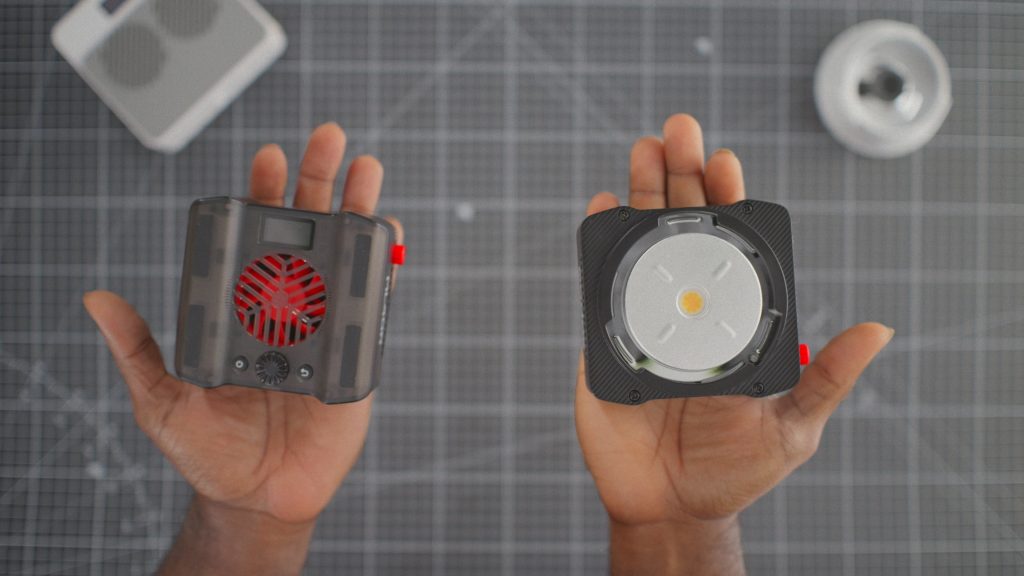
The ML40Bi and ML40R are Godox’s newest entries in the ML series. Both share the same 97 x 46 x 91mm body, weigh 422 grams, and carry a built-in 4800mAh battery rated for around 42 minutes of runtime at full brightness. Both sit on the Godox Mount system, NFC-pair with the Godox Light app, and support USB-C passthrough charging at up to 60 watts.
The ML40Bi is bi-colour: 2800K to 6500K, 1060 lux at one metre bare, CRI and TLCI both around 96. The ML40R adds full RGBW control, extends the colour range from 1800K to 10,000K, and adds 14 lighting effects, but outputs 781 lux bare at one metre compared to 1060 on the Bi. More colour range, less raw output. That trade-off will decide which one is right for you.
The Catch — And Why It Exists
You can run either of these lights through the ML-Z zoom reflector, the ML-D diffusion panels, or the ML-CD15 dome diffuser and get beautiful, soft, wrapped light. But every layer of diffusion costs you brightness. At 40 watts, that is a real concern.
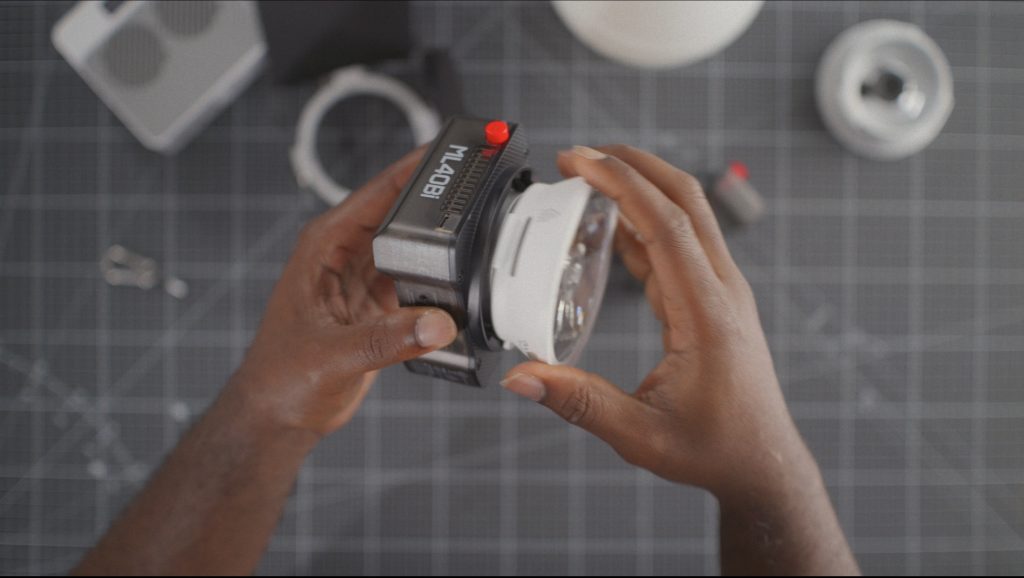
That is exactly why Godox made the ML-L10 lens reflector, which ships in the box with both lights. It concentrates the beam and pushes output back up significantly — the ML40Bi goes from 1060 lux bare to 26,400 lux at one metre with the ML-L10 on. The ML40R goes from 781 to 12,300 lux.
But that concentration is the catch. Run the ML-L10 straight into a large diffuser at close range and you will see a hotspot in the centre of the beam — and on your subject’s face. The fix is to pull the light further back from the diffuser and give the beam room to spread before it hits the silk. It works, but it requires more physical distance than you might initially plan for.
One more thing worth knowing: the ML-L10 is exclusive to the ML40 series. It does not fit the older ML60Bi, ML30, or any other ML family light. The rest of the Godox magnetic accessory range is compatible across the ML family, but the ML-L10 is not.
The Cleaner Alternative: ML-SF3030 Softbox
If you are working in a tighter space and cannot pull the light back far enough to manage the hotspot, the ML-SF3030 softbox is worth knowing about. It is a 30 by 30 centimetre square softbox that mounts directly onto the ML40Bi and ML40R — no bracket, no speed ring, no adapter needed. It clips straight on, includes two diffusion layers, a highly reflective silver interior, and a honeycomb grid for additional light control.
Yes, you will give up brightness compared to the ML-L10. That is the trade-off. But for a talking-head setup in a smaller room, the SF3030 gives you clean, even diffusion at a much shorter working distance. It is the solution I would consider first on my next tight-space shoot with these lights.
The Full Accessory Picture
Beyond the ML-L10 and ML-SF3030, the Godox magnetic accessory range opens up a lot of creative control. The ML-B4 barndoor clips magnetically onto the front of the ML-Z, ML-L15, or ML-L36 reflectors for spill control and beam shaping. The ML-SP mini projection attachment lets you throw patterned light onto a wall or backdrop — particularly effective with the ML40R in RGB mode. The ML-D magnetic diffusion kit adds micro-optical lens panels to any of those reflectors for further softening or beam shaping. And the ML-CD15 dome diffuser clips directly onto the light body for fast, portable diffusion without a reflector.
The solution ladder, practically speaking: bare light for maximum reach, ML-L10 for concentrated high-output work, ML-SF3030 for clean integrated diffusion in tighter spaces, ML-Z plus ML-D panels for maximum control at the cost of brightness.
How I Used These on the Shoot
The ML40Bi was my key light, run through a large diffuser with the ML-L10 reflector on. I pulled it back further than planned to let the beam spread, and once I did, the light on my face was clean. Skintones held up well and required no correction in DaVinci Resolve.
The ML40R went on a small stand as my background light. I ran it in RGB mode with the ML-SP projection attachment and a couple of the magnetic modifiers to throw coloured, patterned light onto the background. It added depth to the image without a second large fixture — a genuinely practical use case.
For power, I ran a V-mount battery into the USB-C passthrough throughout the shoot. It worked cleanly. A power bank does the same job if you do not have a V-mount system.
ML40Bi vs ML40R: Which Would I Buy?
ML40Bi. For most working filmmakers, bi-colour covers everything you need and the extra output matters. At £79, it is priced correctly for what it delivers. The ML40R is for you if creative colour work — music videos, atmospheric backgrounds, coloured practicals — is a regular part of your output. The £20 premium is fair for what it adds. But do not pay for RGB if you are not going to use it every week.
Final Thought
These lights are genuinely useful — not just as novelties but as working tools, especially once you understand the accessory system. The ML-L10 catch is real but manageable, and the ML-SF3030 gives you a clean way around it. Go in with the right expectations and you will find a lot to work with here.
🛒Godox ML40Bi → http://geni.us/yOY1DBQ
🛒Godox ML40R → http://geni.us/YTqbLDR
🛒Godox ML-SF3030 Softbox → http://geni.us/EH53yI
🛒Godox ML150Bi review →http://geni.us/Vwc9lI8
🛒Godox ML80Bi review → http://geni.us/Mn4Hnl